How to Restore Degraded Insect Habitats Effectively
Insects play a crucial role in maintaining the health of ecosystems. They are integral for pollination, nutrient cycling, and serving as food for other wildlife. However, habitat degradation due to urbanization, agriculture, and climate change has led to alarming declines in insect populations globally. Restoring degraded habitats is essential not only for insects but for overall biodiversity and ecosystem stability. This article will explore effective strategies for restoring degraded insect habitats.
Understanding Insect Habitat Requirements
Before embarking on restoration efforts, it is vital to understand the specific habitat requirements of insects. Different species have varying needs related to food sources, nesting sites, and environmental conditions.
Food Sources
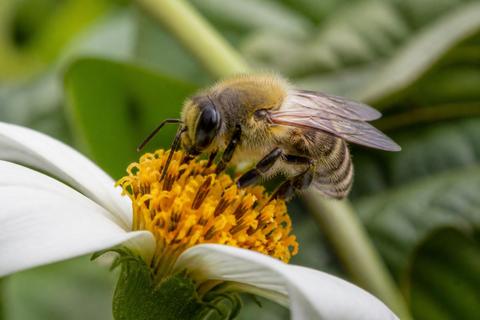
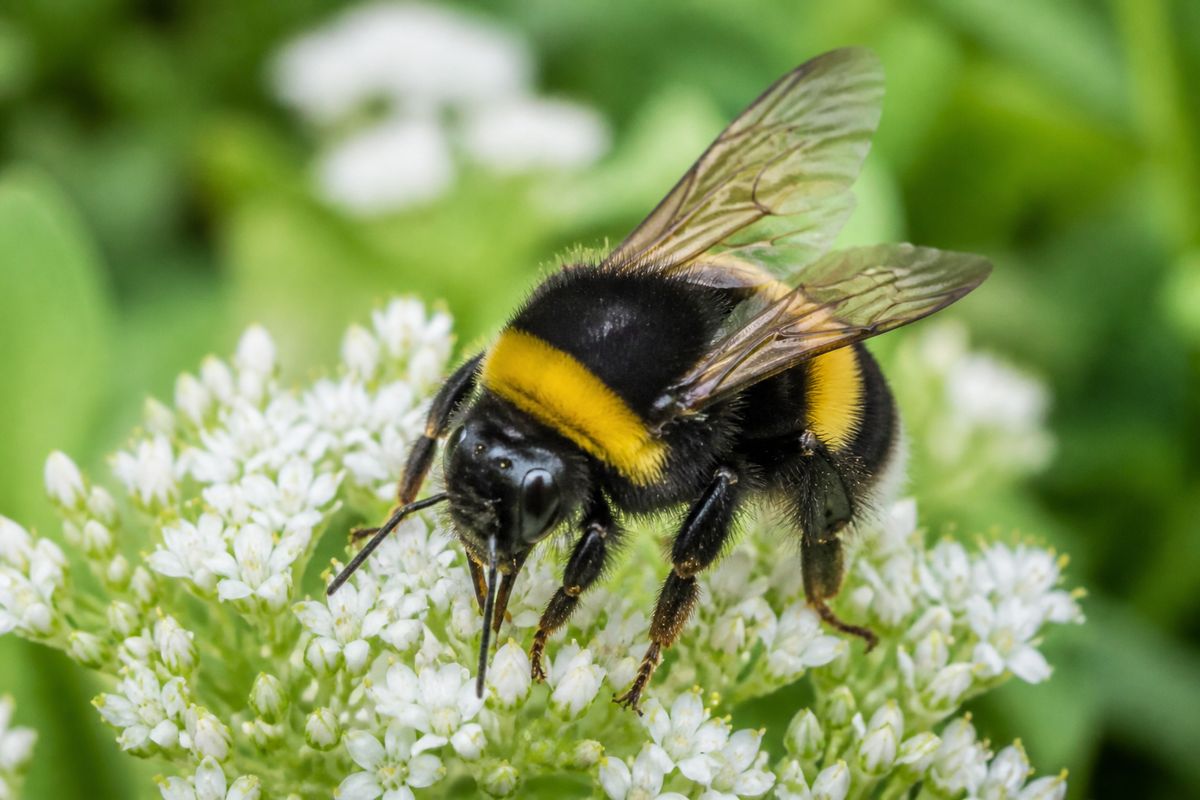
Insects rely on a diverse range of plant life for sustenance. Pollinators like bees require flowering plants that bloom at different times throughout the year to ensure food availability across seasons. Herbivorous insects depend on host plants, while detritivores need decaying organic matter.
Nesting Sites
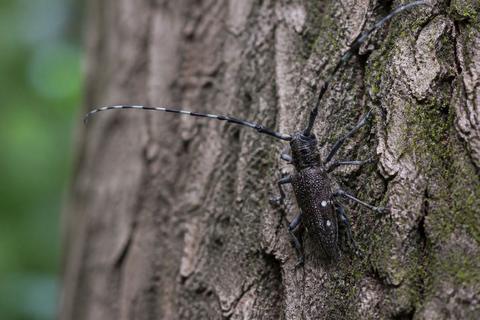
Many insects require particular types of substrates for nesting. For example, ground-nesting bees prefer bare soil, while cavity-nesting species look for hollow stems or dead wood. Providing a variety of nesting materials is crucial in supporting diverse insect populations.
Microclimatic Conditions
Microclimates play an important role in insect habitats. Factors such as moisture, sunlight exposure, and temperature can significantly influence insect survival and behavior. Maintaining a variety of microclimatic conditions within restored habitats can increase their resilience.
Assessing the Degraded Habitat
Before initiating restoration efforts, it is important to assess the current state of the degraded habitat. This assessment should include:
- Identifying Existing Species: Conduct surveys to document current insect populations. Identify key species that can serve as indicators of ecological health.
- Evaluating Soil Quality: Analyze soil composition and health as it directly impacts plant growth and consequently insect populations.
- Mapping Vegetative Cover: Understand the existing flora and identify gaps where native plants can be reintroduced.
- Recognizing Disturbances: Identify ongoing disturbances such as pollution or invasive species that may hinder recovery efforts.
Developing a Restoration Plan
Once the assessment is complete, a targeted restoration plan can be developed. This plan should focus on ecological principles that promote biodiversity and sustainability.
Setting Objectives
Establish clear objectives for the restoration project. These may include increasing native plant diversity, enhancing soil quality, or improving water retention within the habitat.
Selecting Native Plants
Choose native plants that will thrive in the specific conditions of the degraded area. Native vegetation is adapted to local climate conditions and soil types and tends to require less maintenance than non-native species. Additionally, native plants provide essential resources for local insect populations.
Creating Habitat Structures
Incorporate various structural elements into the habitat design:
- Wildflower Meadows: Planting wildflower meadows can provide critical food sources for pollinators.
- Buffer Zones: Establish buffer zones around agricultural fields to protect against pesticide runoff and restore natural habitats.
- Dead Wood and Leaf Litter: Retaining dead wood and leaf litter creates microhabitats beneficial for decomposers and other insects.
- Water Features: Introduce small ponds or wetland areas where insects can breed and thrive.
Implementing Restoration Techniques
With a plan in place, implementation can begin. Several techniques have proven effective in restoring insect habitats.
Replanting Native Flora
Replanting native species should be done strategically, consider seasonal blooming patterns to ensure a continuous supply of flowers throughout the year. Group planting can also create patches of suitable habitat that attract pollinators more effectively than solitary plants.
Managing Invasive Species
Invasive species often outcompete native flora and disrupt local ecosystems. Implement management strategies such as mechanical removal, controlled burns, or targeted herbicide application (while minimizing harm to non-target species) to control invasives effectively.
Soil Remediation
Improving soil health is fundamental to successful habitat restoration. Techniques may include:
- Composting: Incorporate organic matter into the soil to improve fertility.
- Cover Cropping: Utilize cover crops during fallow periods to prevent erosion and improve soil structure.
- Reducing Soil Compaction: Minimize heavy machinery use in areas being restored to maintain soil porosity.
Employing Integrated Pest Management (IPM)
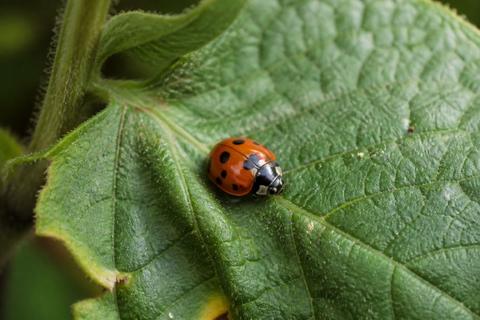
While addressing pest issues, consider using Integrated Pest Management practices that promote ecological balance rather than relying solely on chemical pesticides. Encourage natural predators by creating environments that support their populations.
Monitoring Progress
Monitoring is vital to assess whether restoration goals are being met. Establish baseline data during initial assessments so comparisons can be made over time. Regularly check:
- Insect Diversity: Conduct follow-up surveys to document changes in insect populations.
- Plant Growth: Monitor plant health and growth rates.
- Soil Health: Test soil periodically for nutrient levels and microbial activity.
By analyzing collected data, adjustments can be made to management practices if necessary.
Engaging the Community
Community involvement can enhance restoration efforts significantly. Engaging local volunteers not only fosters a sense of ownership but also raises awareness about insect conservation. Educational programs can teach participants about the importance of insects in ecosystems and how they can contribute to habitat restoration efforts.
Workshops and Training Programs
Offer workshops that teach community members about:
- Native plant identification
- Proper planting techniques
- Maintenance practices such as weeding or monitoring pests
These initiatives build knowledge and skill sets that align with ongoing restoration projects.
Conclusion
Restoring degraded insect habitats is not just about aiding declining populations; it is a holistic approach toward promoting biodiversity and ensuring ecosystem resilience. By understanding the unique requirements of insects, assessing existing conditions, developing targeted plans, implementing effective techniques, monitoring progress, and involving communities, we pave the way for sustainable ecosystems where both humans and insects thrive together.
As we increasingly recognize our interconnectedness with nature, every effort made towards restoring insect habitats contributes toward a healthier planet for all living organisms.